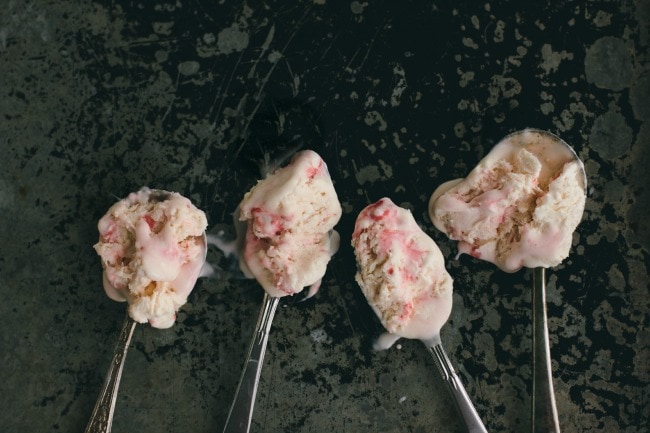
I just couldn’t resist experimenting with the no-churn ice cream yet again. Candy cane ice cream is something I’ve experienced only a couple of times, but I enjoyed it so much I thought I should come up with my own version.
So here it is – a minty wonderland of creamy deliciousness. This is the perfect ice cream for the holidays!
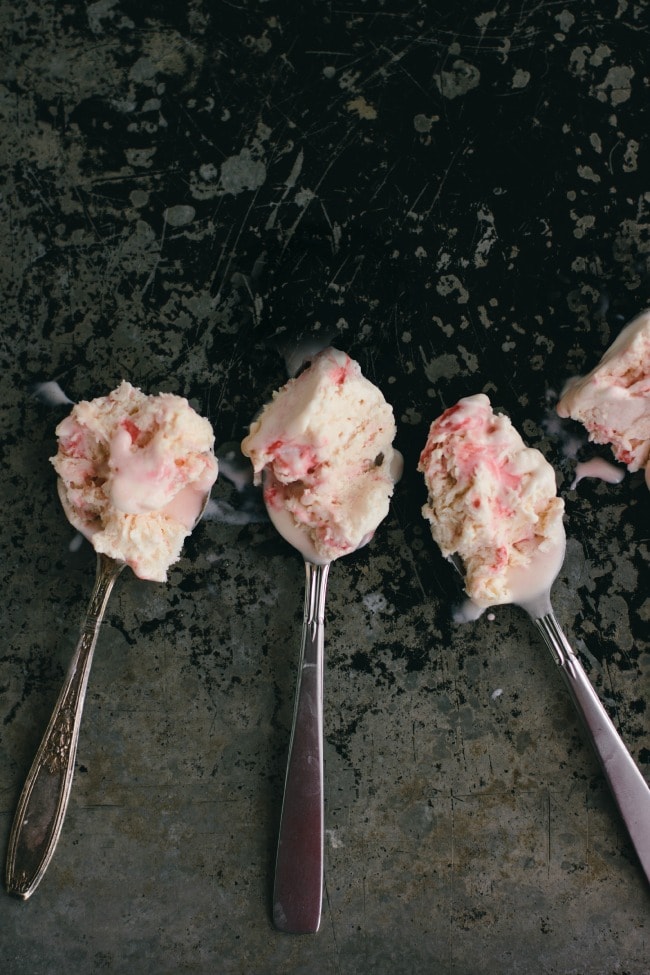
No-Churn Candy Cane Ice Cream
adapted from Everyday Food
This recipe calls for 1/4 teaspoon to 2 teaspoons peppermint or mint extract. I suggest starting with 1/4 teaspoon, and the adding a little bit at a time, until you like the mint flavor. I only put 1/2 teaspoon in mine; it was strong enough, and the crushed candy canes add even more flavor.
I used mint extract instead of peppermint, but either would work just fine.
I also liked irregular pieces of candy cane, so I put them in a ziplock bag and crushed them with a rubber mallet until I liked their sizes.
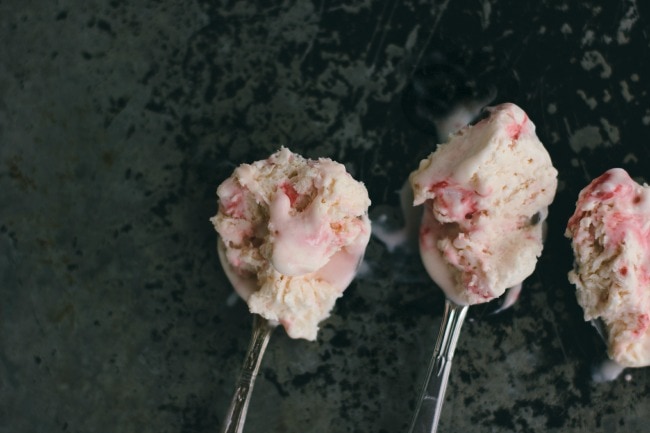

No-Churn Candy Cane Ice Cream
Ingredients
- 1 can [14 ounces] sweetened condensed milk
- 2 teaspoons pure vanilla extract
- 1/4-2 teaspoons peppermint or mint extract [see note]
- 2 cups cold heavy cream
- 1/2 cup crushed candy canes [about 4 regular sized candy canes]
Instructions
- In a medium bowl, stir together the sweetened condensed milk, vanilla, and peppermint extract. In a large bowl of a standing mixer, beat the heavy cream on high until stiff peaks form, about 3 minutes.
- With a rubber spatula, gently fold whipped cream into the condensed milk mixture. Stir in the crushed candy canes. Pour into a regular sized loaf pan, and freeze until firm, 6 hours [or, covered, up to 1 week].


2 Comments
cynthia
Wednesday, December 10, 2014 at 12:13 pmSarah, I just made this last weekend and it was INCREDIBLE. I literally can’t stop sneaking bites — you’ve made all my no-churn ice cream dreams come true!!! So quick, so easy, so mindblowingly delicious. It’s so good I feel bad for my ice cream machine… but just a little. 😉 Thank you so much for sharing these no-churn recipes!! I can’t wait to try all the others!
my little celebration
Monday, December 12, 2011 at 4:49 amwhat a beautiful recipe AND photos. No wonder your daughter loved it so much. I’ll have to give it a whirl if an occasion arises!