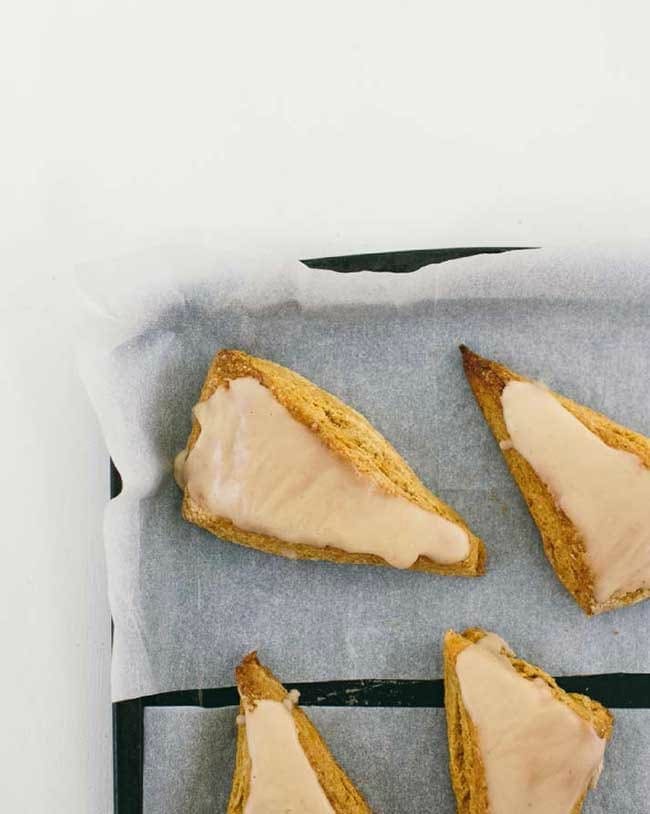
Pumpkin Scones
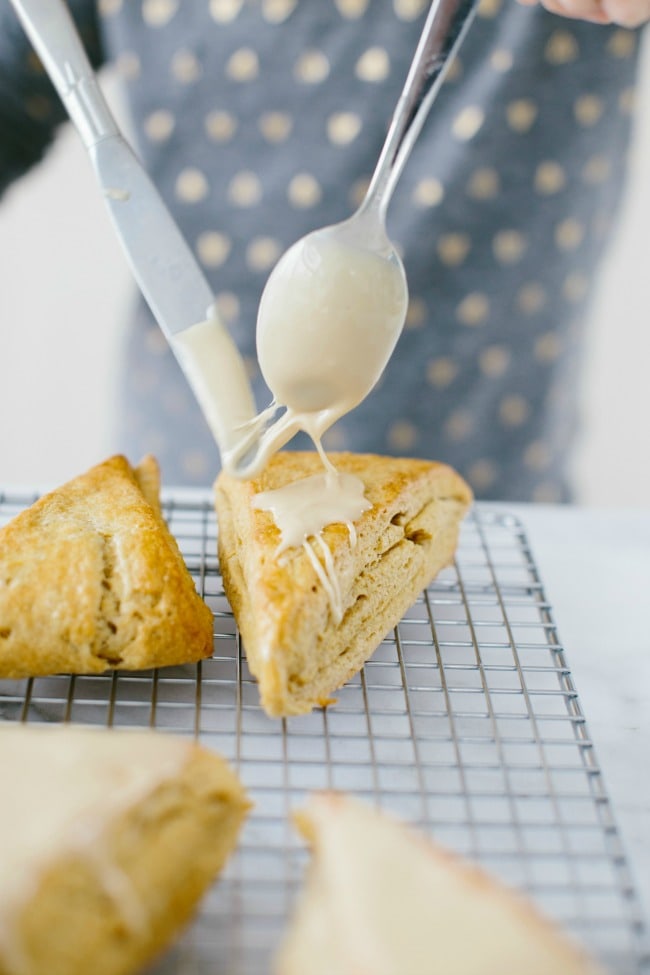
These scones are a family favorite, and might be what we wake up to this Christmas morning. They’re tender, flaky, with just the right amount of pumpkin and a shiny maple glaze. I like to cut them into triangles, but you can also use a biscuit cutter if you prefer, or cut them into squares.
“If the world seems cold to you, kindle fires to warm it.” —Lucy Larcom
Scones Technique
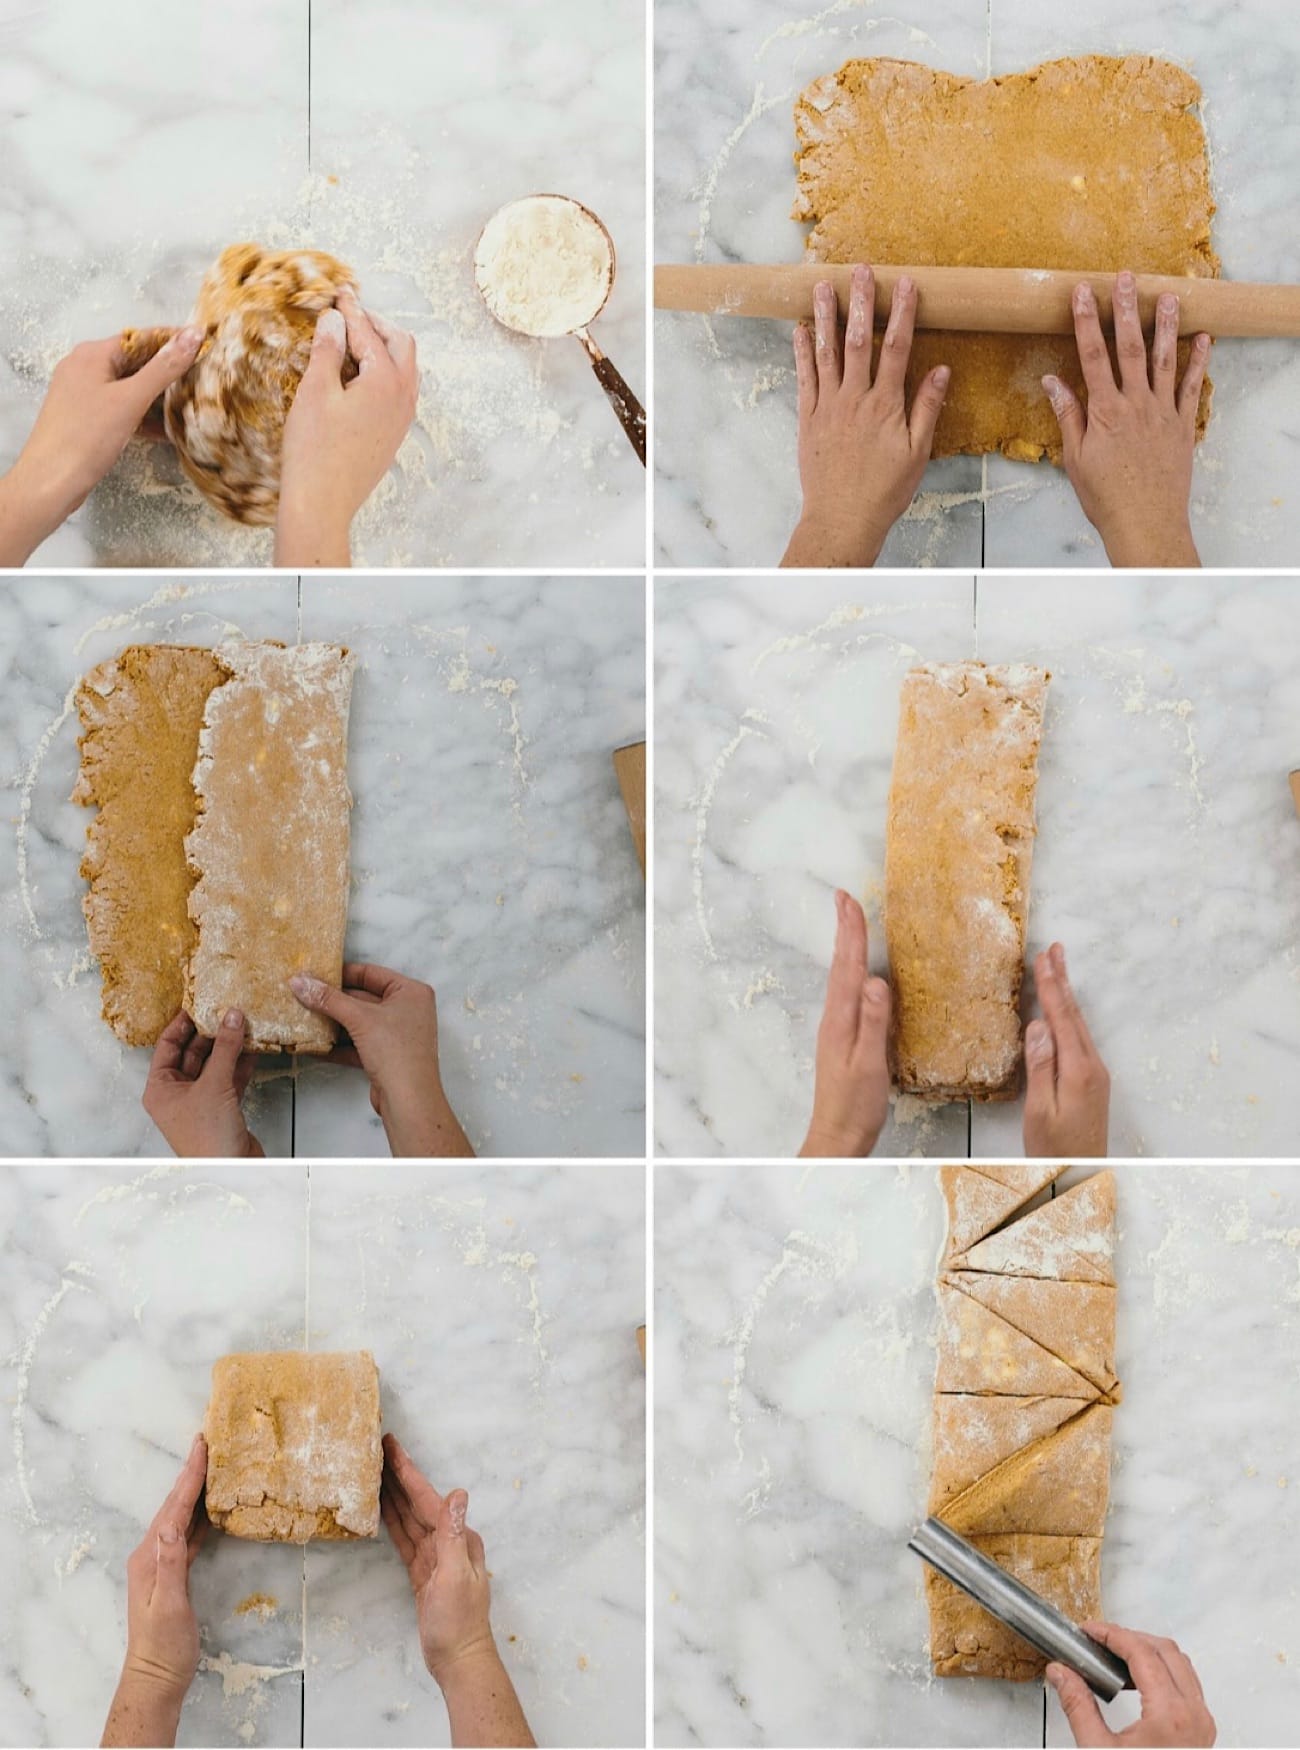
I had been making scones the same way for years – an adaption of Ina Garten’s Strawberry Scones from her first cookbook, The Barefoot Contessa. However, I changed things up after stumbling upon a genius idea from Cook’s Illustrated. Their scone recipe included folding the dough over several times to create multiple flaky layers. I applied this technique to my tried and true recipe, and my perfect scone was born.
NOTES: Putting another baking sheet nestled directly underneath the one the scones are on helps keep the bottoms of the scones from browning too quickly before they fully bake. If you like the bottoms extra crisp, you can just use one pan.
Measuring Flour
Throughout my recipes posted on this website, 1 cup of flour equals 142g. Please note that 1 cup of flour can range anywhere from 120g to 142g, depending on the baker or website. I found that after weighting many cups of flour and averaging the total, mine always ended up around this number. If I am posting a recipe from another cookbook, I will use whatever gram measure of flour used in that book, which is why you may see a few posts with a different cup measurement.
Different brands of flour have varying levels of protein, ranging from low to high, which can result in very different outcomes when baking. I’ve found Gold Medal all-purpose unbleached flour to be the best option for many of my recipes; I use it in all the baked goods that don’t use yeast.
More Pumpkin Recipes:
- Pumpkin Bars with Cream Cheese Frosting
- Pumpkin and Cream Cheese Muffins with Streusel
- (Baked) Pumpkin Donuts
Pumpkin Scones with Maple Icing
Ingredients
- 2 ¼ cups (320 g) all-purpose flour*
- 1/3 cup (66 g) sugar
- 1 tablespoon baking powder
- 1 teaspoon ground cinnamon
- ½ teaspoon ground ginger
- ¼ teaspoon grated nutmeg
- ½ teaspoon salt
- ½ cup unsweetened pumpkin puree
- 1/3 cup heavy cream, plus more for brushing
- 1 large egg
- 1 large egg yolk
- ½ teaspoon pure vanilla extract
- 12 tablespoons 1½ sticks; (170 g) unsalted butter, cold and cut into ½-inch pieces
Maple Icing
- 1/3 cup pure maple syrup
- 1 cup 113 g confectioners’ sugar
- ½ teaspoon pure vanilla extract
- Pinch salt
Instructions
- Adjust an oven rack to the lower middle position. Preheat the oven to 400°F. Stack two baking sheets on top of each other and line the top sheet with parchment paper.
- In a large bowl, whisk the flour, sugar, baking powder, cinnamon, ginger, nutmeg, and salt. In a medium bowl or liquid measuring cup, whisk the pumpkin puree, heavy cream, egg, egg yolk, and vanilla.
- Add the butter to the dry ingredients and use a pastry cutter to cut it into the mixture until the flour-coated pieces are the size of peas. Add the wet ingredients and fold with a spatula until just combined.
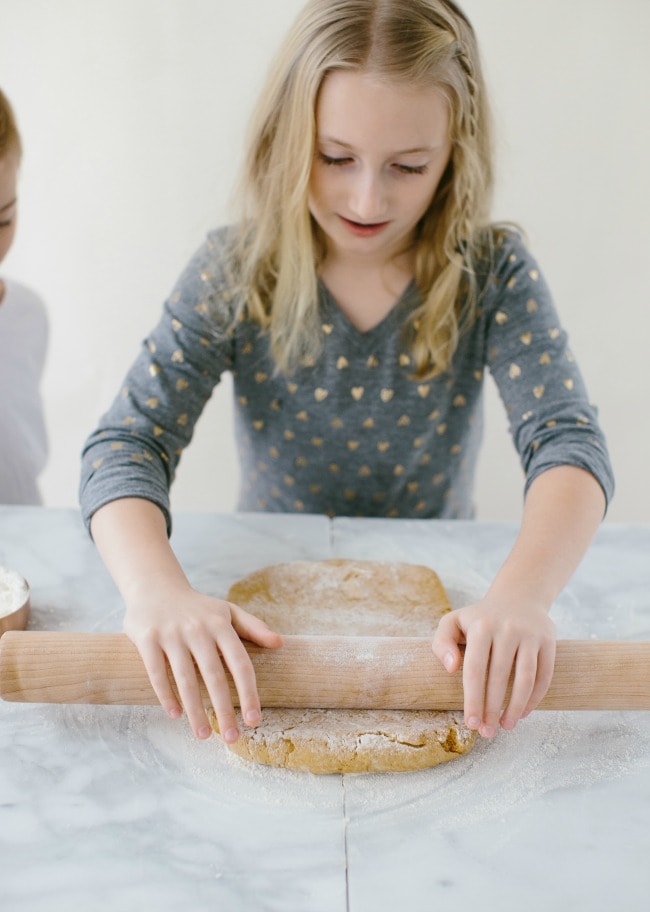
- Transfer the dough to a lightly floured surface, and knead until it comes together, 4 to 6 times, adding flour as necessary if the dough is sticky. Pat the dough gently into a small square and roll it into a 12-inch square (again, using flour as necessary). Fold the dough in thirds similar to a business letter. Fold the dough into thirds again, making a square. Transfer it to a floured sheet pan or plate and put it in the freezer for 10 minutes.
- Return the dough to the floured surface. Roll it into a 12-inch square and fold it business letter style. Place the dough seam side down and gently roll into a 12 by 4-inch rectangle. With a sharp knife (or bench scraper), cut the rectangle crosswise into 4 equal rectangles, then cut each rectangle diagonally into 2 triangles. Transfer the triangles to the prepared baking sheet.
- Brush the tops with a little heavy cream, making sure it doesn’t drip down the sides. Bake 18 to 25 minutes, rotating the pan halfway through, until the tops and bottoms are golden brown.
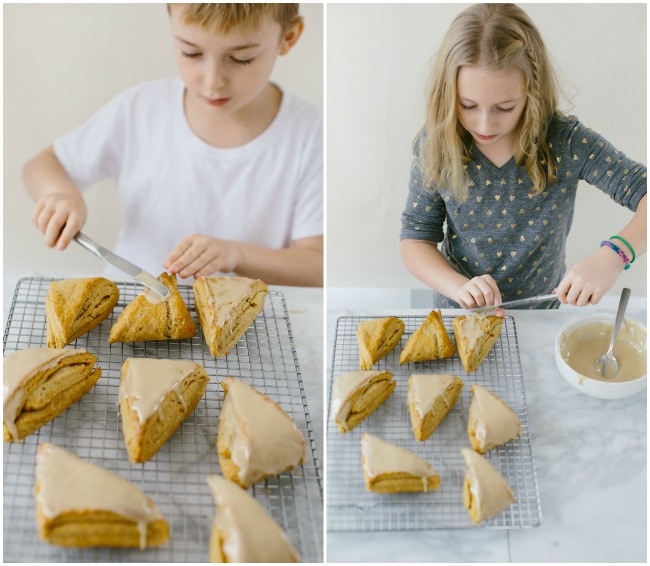
- Transfer the sheet pan to a wire rack and let the scones cool slightly. Top with the Maple Frosting.
For the Maple Icing
- In a small bowl, whisk the maple syrup, confectioners’ sugar, vanilla, and salt until smooth.


23 Comments
Sara
Sunday, November 10, 2024 at 3:45 pmI LOVE your scone recipes! They’re so superior to all the rest out there. Thanks so much for sharing them with us. I’ve noticed as I’ve read (and baked) through several different flavors that the instructions for incorporating the butter vary. Some have you cut it in, some use a mixer, some a food processor. I wondered if there was a reason you chose a specific method for each particular flavor or if they would all work equally well for each recipe. Thanks for any feedback! Can’t wait to make these!
Lisa Tasker
Friday, September 20, 2024 at 8:18 amJust made these delicious scones so good.
Thank you
Bonnie
Sunday, November 12, 2023 at 9:08 pmI’ve made these twice and they came out beautifully both times. Will add this to my recipe box without a doubt!
Jenn
Monday, November 28, 2022 at 12:10 pmAt first I was a little intimidated by the recipe but
It wasn’t difficult just a little time consuming. But worth it! I shared them with 3 people & everyone raved about them. Even the next day!
Susan
Wednesday, November 23, 2022 at 10:04 amMine were quite high and flopped over as they baked but definitely light and delicious!
Jennifer Hamilton
Friday, October 15, 2021 at 8:49 pmAbsolutely delicious! My entire family loved these. They will be a fall time staple for sure!
Shyanne
Friday, October 8, 2021 at 8:21 pmThis recipe is a keeper!!! New fall staple!
Linda
Sunday, September 26, 2021 at 6:10 pmI made these this morning and WOW, so delicious!! The scones are tender with a beautifully crunchy crust. I love the layers that the folding technique creates. The flavor is very subtly sweet and spiced but light enough to let the butter still shine. Absolute perfection and I’ll definitely be making these again. Thank you, Sarah, for sharing this beautiful recipe!
Joanna T.
Tuesday, September 21, 2021 at 7:12 pmI think these might be the first recipe I made of Sarah’s and wow. Just wow. So tender, so delicious and the icing is not too sweet. I love scones, love making scones and am very picky about them and this is a favorite. The LAYERS. Even my mother, a very critical accomplished baker and cook, loves them. My extremely picky son loves them. My husband of few words just stands at the sheet pan and silently polishes off 2-3 of them when they come out of the oven. I think I’ll make them tomorrow.
Karen Stoeckle
Tuesday, October 6, 2020 at 5:46 amThese are, by far, the best scones I have ever made…..and I make a lot! They are the perfect consistency, not too soft and not dry! I am hooked on these and make them often! Thank you for this wonderful recipe!
Ann
Saturday, December 7, 2019 at 11:39 amGosh. The loveliest photos and recipe! These scones sound amazing! I’m definitely saving the post for later.
Thanks a lot for sharing such a fab idea! Looking forward to your new awesome recipes. I’m so happy I came across your blog a few days ago. I’ll be coming around often. Keep up the good work!
Best wishes,
Ann
Erin
Tuesday, October 3, 2017 at 6:18 amThese look AMAZING! I’ve been searching for the “perfect” pumpkin scone recipe, and I know I just found it. I’m curious if you could make these ahead and freeze them (unbaked) once they’ve been shaped/cut? Then I could pop the already shaped/cut scone right in the oven (frozen)…or thaw overnight in the fridge to be ready for baking in the morning. Or just make them the day/night before and hold the shaped/cut dough in the fridge until morning? Thoughts on how either way might work with this recipe?
Mary
Tuesday, October 17, 2023 at 8:23 pmI have the same question about freezing! Would love some advice.
mp3raid
Sunday, January 22, 2017 at 12:36 amYour style is unique in comparison to other people I’ve read stuff from.
Many thanks for posting when you’ve goot the opportunity, Guess I will just
bookmark this web site.
Christa Sagmoe
Thursday, December 29, 2016 at 12:05 pmThe scones look absolutely delicious! Going to have to try them out. ~ Christa
http://theavidpen.com
http://thelifeandtimesofafoodie.wordpress.com
Heather E.
Tuesday, December 27, 2016 at 7:20 amWe are headed to the library today; it’s finally my turn to borrow your book! I found out about your book and blog through A Couple Cooks. I made the shortbread — perfection! I always borrow cookbooks before purchasing but I have a strong feeling I’ll be using my Christmas gift card to put your book permanently on my shelf! Thanks for the information on Brightly. We are avid readers and I subscribed.
Abby | Lace & Lilacs
Monday, December 26, 2016 at 5:49 pmThe loveliest photos and recipe. xoxo
amanda paa
Saturday, December 24, 2016 at 9:17 ami love seeing your children learning with you! and wow, they keep growing up so fast. such a cool initiative with Penguin! i’m going to check out those lists right now. xo
Kari
Friday, December 23, 2016 at 11:06 amThey did such a good job making those scones!
Kari
http://sweetteasweetie.com/
Karen
Saturday, August 8, 2020 at 6:55 amThese are my favorite scones, and I have made tons!!! The consistency is perfect! Thank you so much for sharing your wonderful creations!!!
Tori//Gringalicious.com
Friday, December 23, 2016 at 7:21 amSo sweet! These scones sound wonderful!
Marta @ What should I eat for breakfast today
Friday, December 23, 2016 at 12:13 amIt’s such a beautiful picture. I can’t wait for Mia to be like it 🙂
Steve
Thursday, November 23, 2023 at 12:57 pmThese were an absolute Thanksgiving breakfast delight! (Likely pushing for new tradition).
We’re not big sweet fans, so I halved the amount of glaze plus 1 to 1½ tsp burbon. I drizzled it on while they were still a touch warm & sprinkled about ? cup finely minced toasted pecans, and very lightly dusted with sea salt, so the glaze mostly soaked in, holding pecan bits in place.
I also subbed in white whole wheat flour, and a little extra spice plus ? tsp allspice, added in the remainder of 1 cup coarse chopped toasted pecans (holding back about ? cup to fine mince for tops).
Wonderful, wonderful!
Thank you.